Bridge Building Games: 7 Ways to Build Stronger Bridges in Puliya
I wanted Puliya to make failed bridges useful. A collapse should not feel like the game has erased your work. It should show you where the idea stopped working.
That is why every test leaves you with something to read. A square folds. A long beam buckles. A steep road stops the van. A second car exposes a bridge that only looked finished.
If you enjoy bridge building games but keep getting stuck on the same weak span, these are the seven checks I use when I play my own levels.
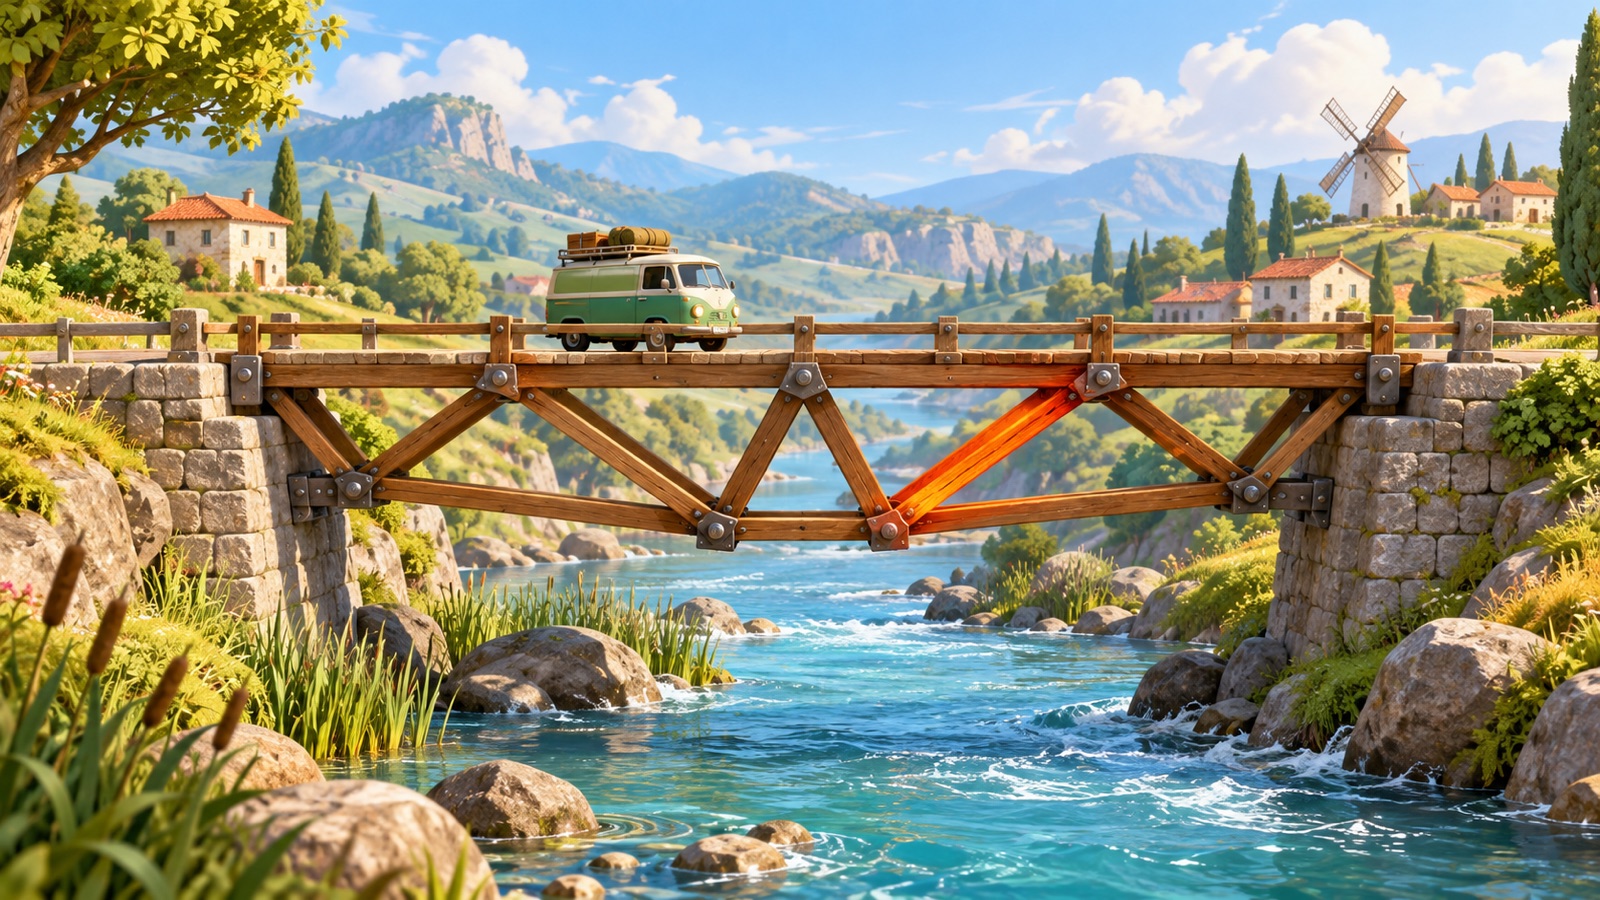
1. Start with the road, then decide where the load can go
The road is the route, but it is not the whole bridge. I usually draw the simplest driveable line first. Then I look underneath it and ask where each road joint can send the weight.
A useful support path ends at something fixed. In Puliya that normally means a bank anchor or a rock anchor. If several beams meet in the middle but none of them connect back to fixed ground, the drawing may look busy without becoming much stronger.
Level 1-2, Saggy Stream, introduces this problem directly. The road reaches the other side, but the van makes it sag. The missing idea is not more road. It is a support path below it.
2. Turn flexible rectangles into triangles
A rectangle can change shape without changing the length of its four sides. Under load, it can lean into a diamond. Add one diagonal and the shape becomes two triangles, which resist that sideways fold.
This is the point of level 1-3, Wobbly Square. The bridge is nearly complete when the level begins. I did that because the lesson is easier to see when one small change fixes a very specific failure.
When a section of your bridge sways or folds, do not rebuild everything. Look for a four-sided frame and try one well-placed diagonal first.
3. Split long beams into shorter members
Long unsupported members are vulnerable. In Puliya, they bend and buckle sooner than a group of shorter members arranged into a truss.
Level 1-6 is called Short Is Strong for exactly this reason. The level asks you to add intermediate joints instead of stretching one beam across the problem.
This does not mean that more pieces always produce a better bridge. Every extra member costs money. The goal is to shorten the pieces that are doing too much work, then remove the pieces that do not create a useful load path.
4. Use stress view to fix the first real weak point
When the bridge fails, switch on stress view and run the test again. Green members are comfortable. Orange members are working hard. Red members are close to breaking.
The important word is first. A bridge may turn red in several places after one member fails and the load shifts. Fixing every red beam can waste the budget. I watch for the first member that becomes overloaded, then change the geometry around that point.
Sometimes the right repair is another support. Sometimes it is a different angle. Sometimes the overloaded beam is only a symptom and the real problem is that the road above it has no clean route to an anchor.
5. Treat rocks and banks as free parts of the structure
Level 1-5 puts a rock in the river. It is not scenery. It adds an anchor and turns one long span into two shorter spans.
This is one of the best habits in any bridge building game online: inspect the level before spending the budget. Fixed terrain can remove an entire section of expensive structure.
The same idea returns in the Mill Bridge. The heavy farm truck needs a stronger route, but the useful rock means you do not have to brute-force the full gap from bank to bank.
6. Build for the vehicle, not just the empty bridge
An empty bridge passing the first second of a test proves very little. The real question is what happens when the vehicle reaches the weakest part.
Level 1-7 sends two cars together. The geometry that carried one car may fail under the combined load. Level 1-10 replaces the lighter traffic with a farm truck. The road is the same kind of object, but the demand on the structure changes.
I test the bridge all the way through. I watch the entry, the middle and the exit. A bridge can survive the centre and still fail when the vehicle climbs onto a poorly supported final road joint.
7. Keep the road gentle and optimise only after it works
A structurally strong bridge can still be undriveable. In level 1-8, Hill Road, the banks sit at different heights. A short, steep road may save material but stop the van.
Build a continuous route with a climb the vehicle can handle. Then earn the budget stars by simplifying the support structure. I find this order much less frustrating than trying to discover the cheapest answer before I have a working answer.
Puliya keeps your bridge when a test fails, so revision is the intended play loop. Test, find the first problem, make one change and test again. Changing one thing at a time makes the result easier to understand.
A quick bridge checklist
- Does every road joint have a believable path to a fixed anchor?
- Are any rectangles free to fold sideways?
- Can one long member be divided into a shorter truss?
- Which member turns red first in stress view?
- Can a rock or bank shorten the span?
- Does the design survive every vehicle in the level?
- Is the road gentle enough to drive, not merely connected?
Build, test and revise
The satisfying moment in a physics bridge game is not drawing a perfect bridge on the first try. It is seeing why a nearly good bridge failed, changing one idea and watching the vehicle reach the other side.
Play Puliya: Bridge Builder free in your browser. Start with Sunny River, use stress view when a design fails and see how many levels you can finish under budget.
Free to play · No download · Mouse or touch · Twenty physics-based levels.
For the design and learning angle, read how Puliya uses planning, physical reasoning and feedback. You can also browse more free browser games.